
- First, you need to download the latest version of Remote7 via Link: http://remote7.com/download.html.

-> Select the version suitable for your device to download.
- After successfully downloading the file to your computer, start the installation process.
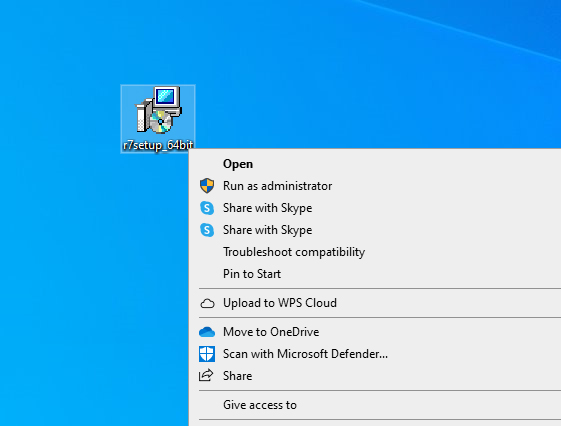
- Double-click the Setup File to install (or right-click the Setup File and select Open).
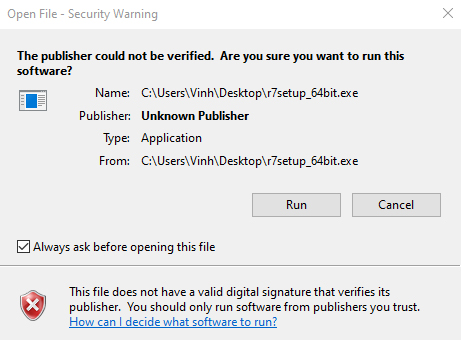
- Select Run, to continue the installation process.
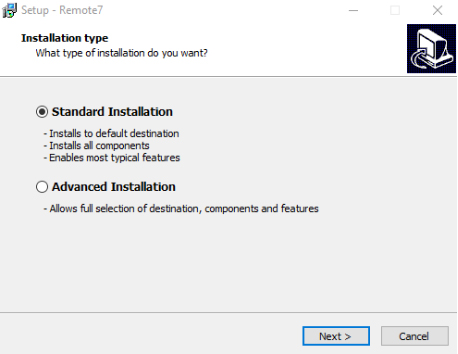
- Then a new interface appears. Here there will be two items for you to choose from:
+ Standard Installation: the program will automatically recommend this mode, will default to the installation options and install directly, the user will not need to do anything further.
+ Advanced Installation: Users can choose appropriate settings to install the program.
- Installation steps after selecting Advanced Installation -> Next.
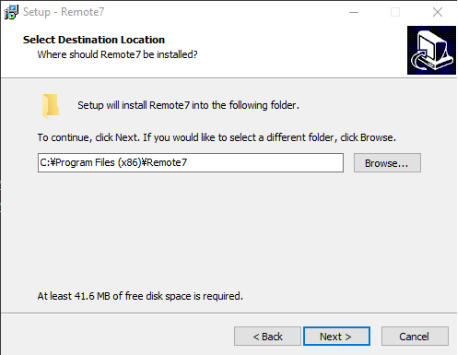
- Select the path to install the program -> Next.
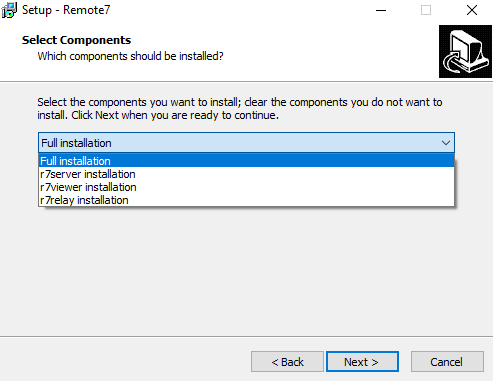
- Next we choose the appropriate installation mode:
+ Full Installation: install all programs including r7viewer, r7server and r7relay.
+ r7server installation: only install the r7server program.
+ r7viewer installation: only install the r7viewer program.
+ r7relay installation: only install the r7relay program.
- After selecting the installation mode, select next to go to the next step.
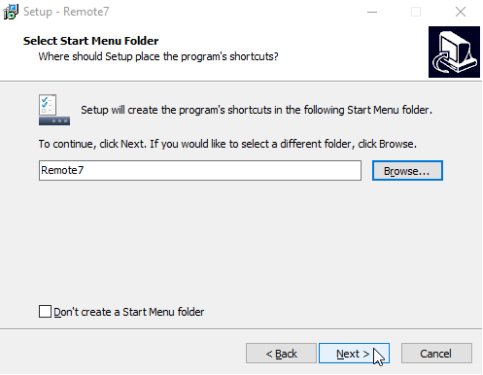
- Continue to select Next.
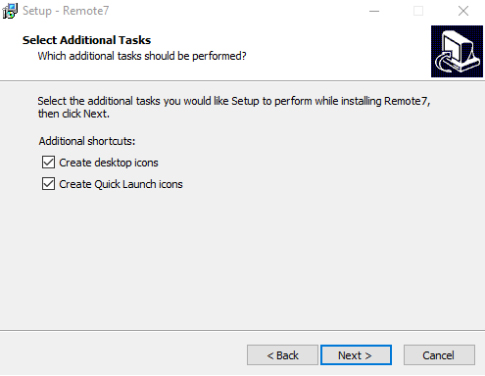
- Next is the interface to create a shortcut on the Desktop, select Next to continue.
- There will be an interface to check again the previously selected settings.
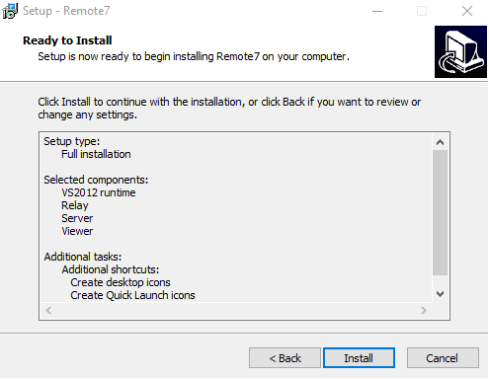
- Select Install to start the installation process.

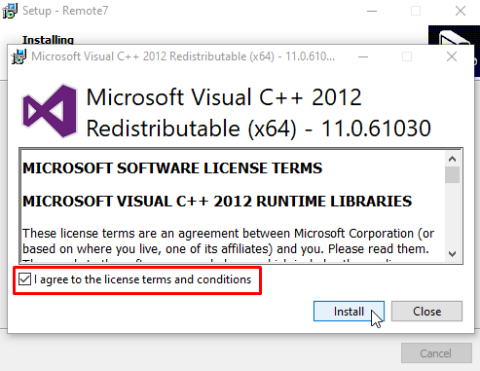
- After installation is complete, the Visual C++ 2012 program installation interface will be displayed, select "I agree to the license terms and conditions" and select Install.
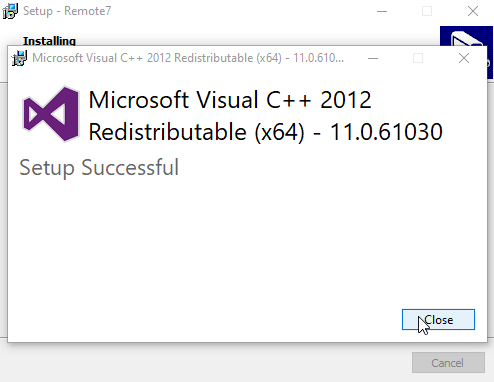
- After installing Visual C++ 2012, select Close to close the installation program.
- When installation is complete, you can choose to run r7server, r7viewer or r7relay.
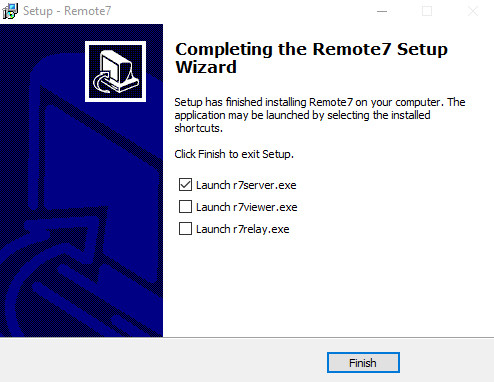
- Then select Finish to end the installation process.
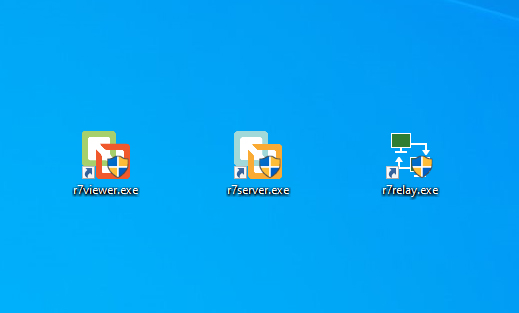
- After successful installation, the app icon appears on the Desktop screen as shown.
- Double-click the r7server.exe app icon to open the app (or right-click the app and select Open).

- App interface after opening.

Double-click the r7viewer.exe app icon to open the app (or right-click the app and select Open).

- App interface after opening.

Provide the most modern remote desktop access service
Company name: Elisoft Co., Ltd.
Representative name: Kim Kyung Lok
Business registration number: 502-81-81890
E-commerce registration number: 2016-Gyeongbuk Kyungsan-0079
Headquarters address: (38408) 17 Jijisaneop 4-ro 1-gil, Hayang-eup, Gyeongsan-si, Gyeongsangbuk-do
TEL: 053-857-5548 / FAX: 053-857-5549
Seoul Office: (06642) 3rd floor, Green Tower, 127 Seochojungang-ro 8-gil, Seocho-gu, Seoul
TEL: 02-419-5396 / FAX: 02-419-5397